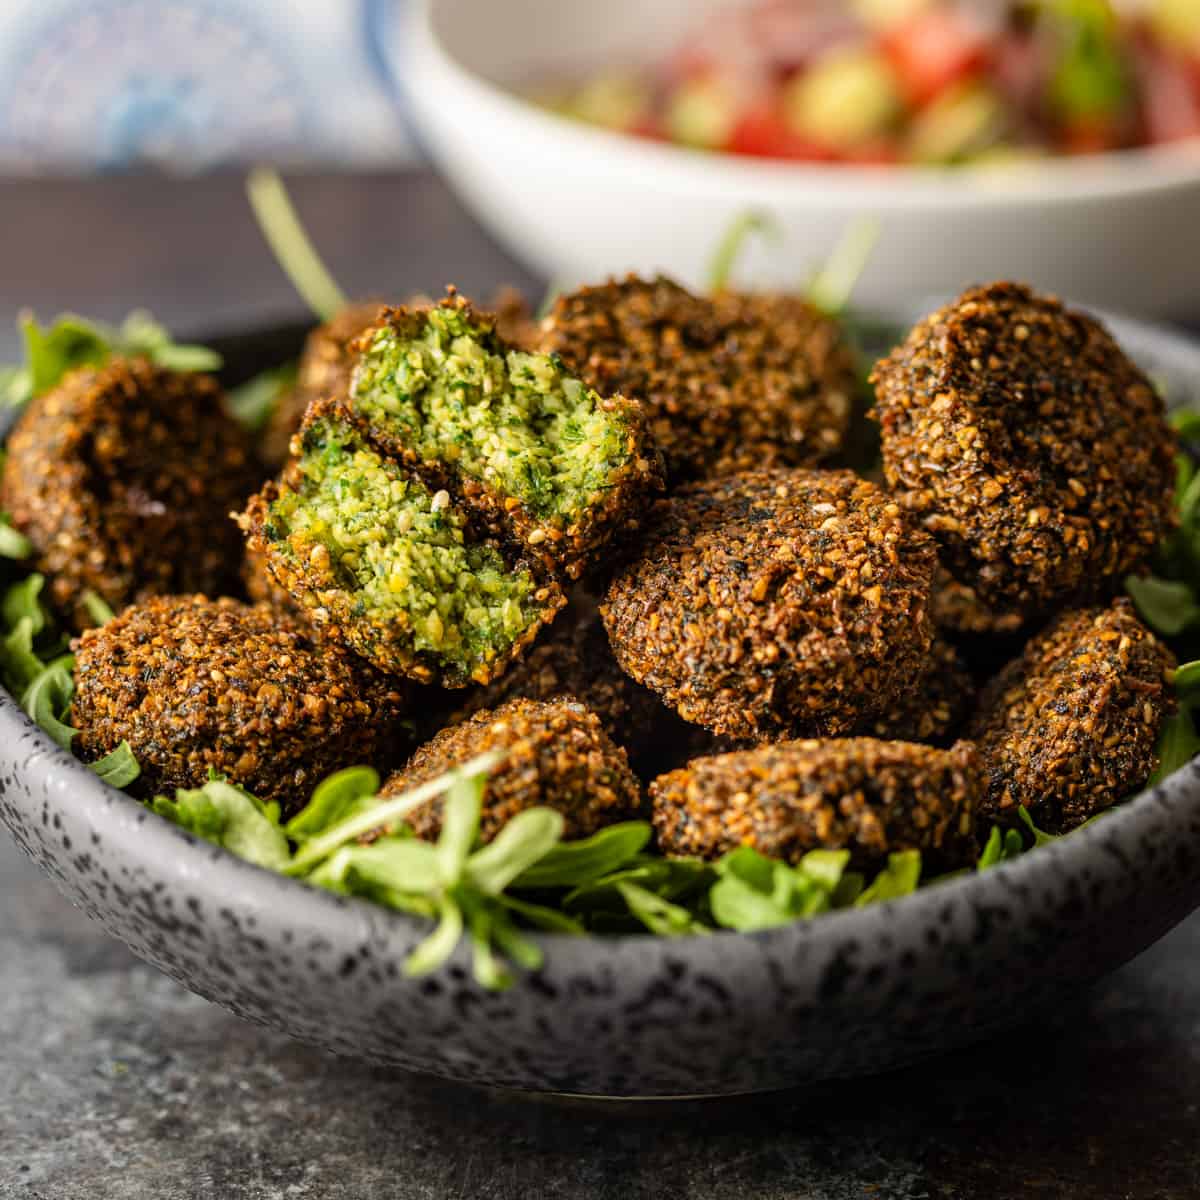
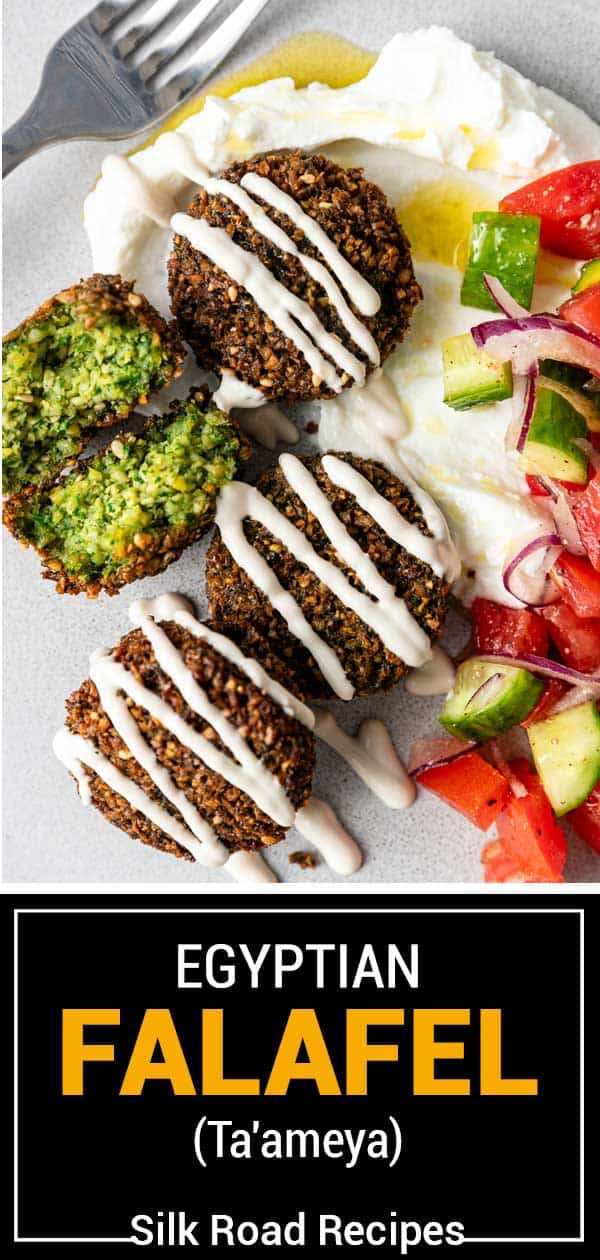
My Egyptian falafel has that light, crispy texture of authentic ta’ameya from using both fava beans and chickpeas. Whether fried or baked, these tasty patties are a fantastic vegetarian meal you can enjoy with hummus, pita, fresh vegetables, tahini — you name it!

When I travel to Egypt, I always get my fill of the amazing sites and street food that the country has to offer. And, without fail, as soon as I get back home I get a craving for the delicious Egyptian breakfast of Foul Mudammas and these falafel.
This recipe is from chef Ahmed Reda, whom I met during my most recent trip. He explained to me that Egyptian falafel uses both fava beans and chickpeas, whereas Middle Eastern falafel uses only chickpeas. The herbs are bumped up and a new addition for me is the peppery fresh arugula. These are amazing!
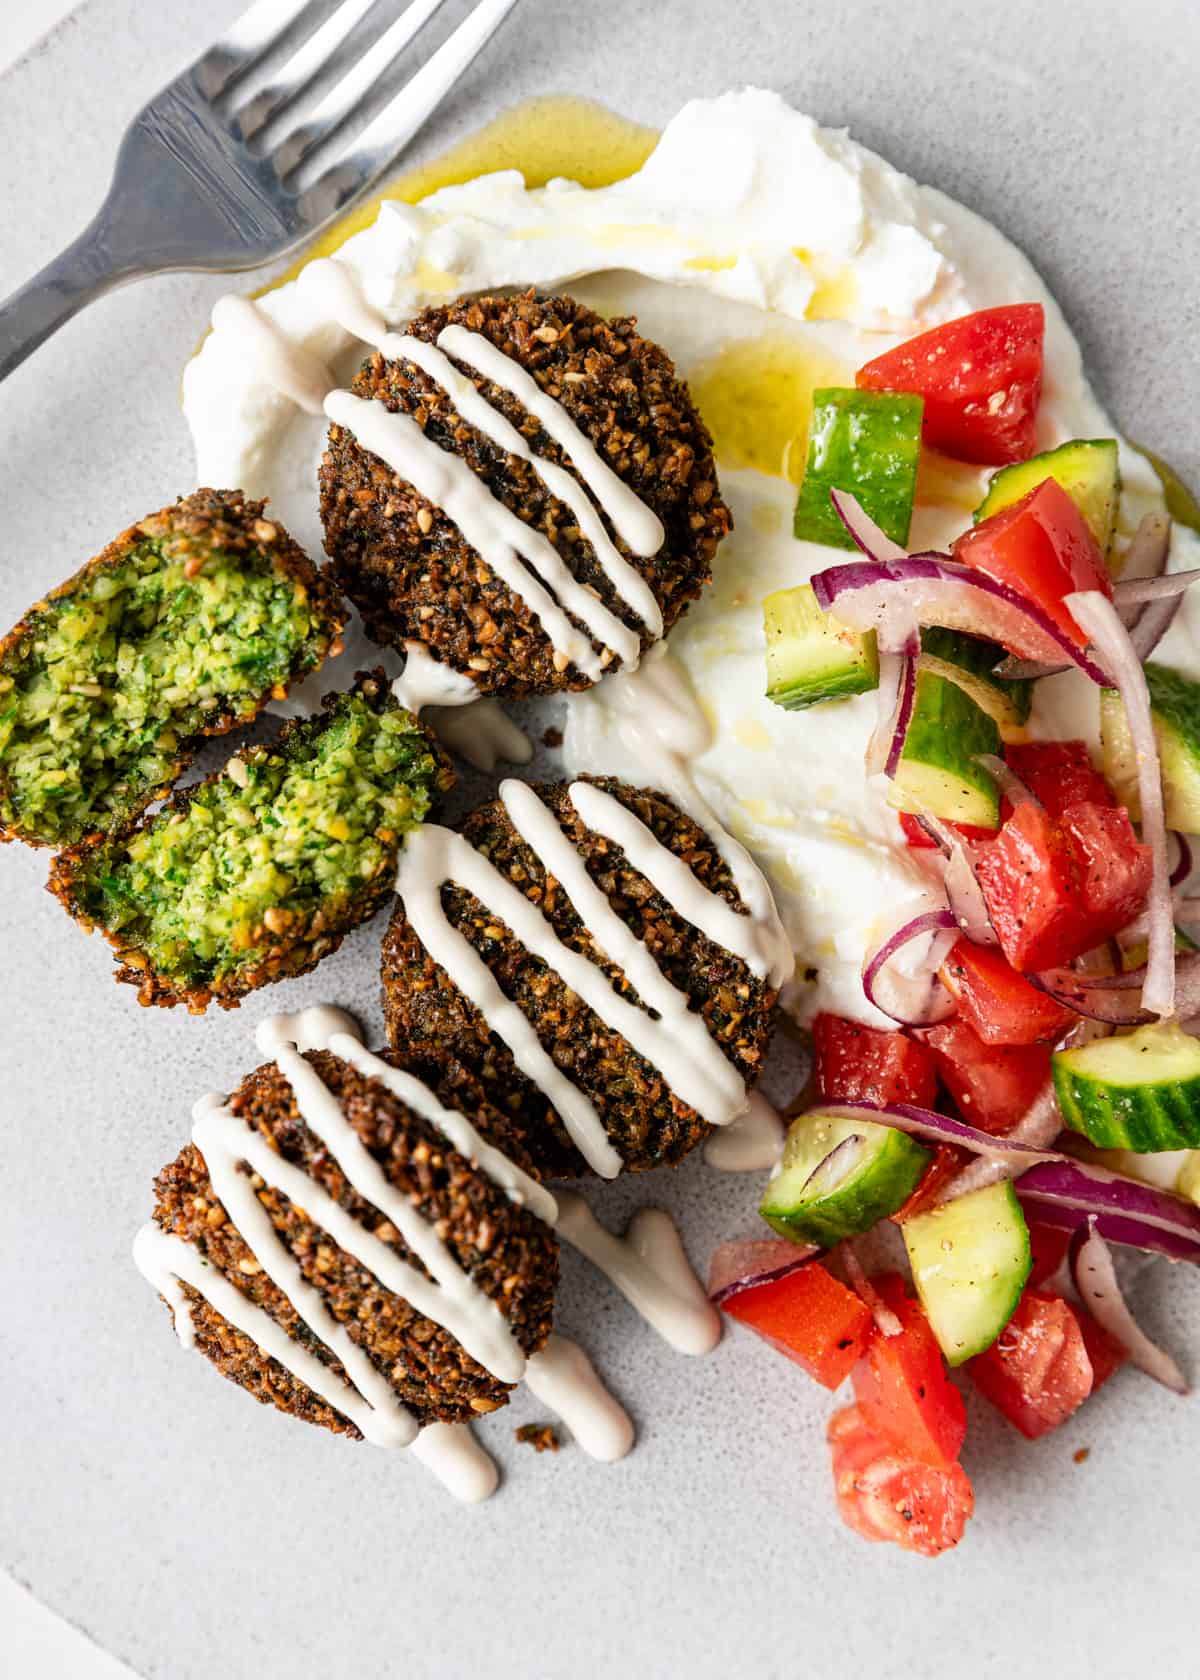
This falafel recipe is very beginner-friendly. The trickiest part might be remembering to soak the dried beans ahead of time, but even this simple step just needs time.
I serve this Egyptian falafel recipe with hummus, tahini, and pita, but you have way more options than that — I’m breaking everything down below!


The Key is Uncooked Beans!
For the perfect falafel, opt for dried and soaked chickpeas instead of canned cooked ones. For the best texture, the chickpeas and fava beans need to be uncooked. Dried chickpeas and fava beans deliver a superior texture and flavor, ensuring a light and crispy outcome. Don’t use canned! Canned chickpeas ARE cooked and typically the falafel breaks apart when fried. Also, canned chickpeas, with their excess moisture, compromise the desired consistency, resulting in a less authentic and satisfying falafel experience.
Elevate your dish by adhering to the traditional method for an irresistible falafel that captures the essence of this beloved Egyptian delicacy. Nobody wants a mushy falafel!

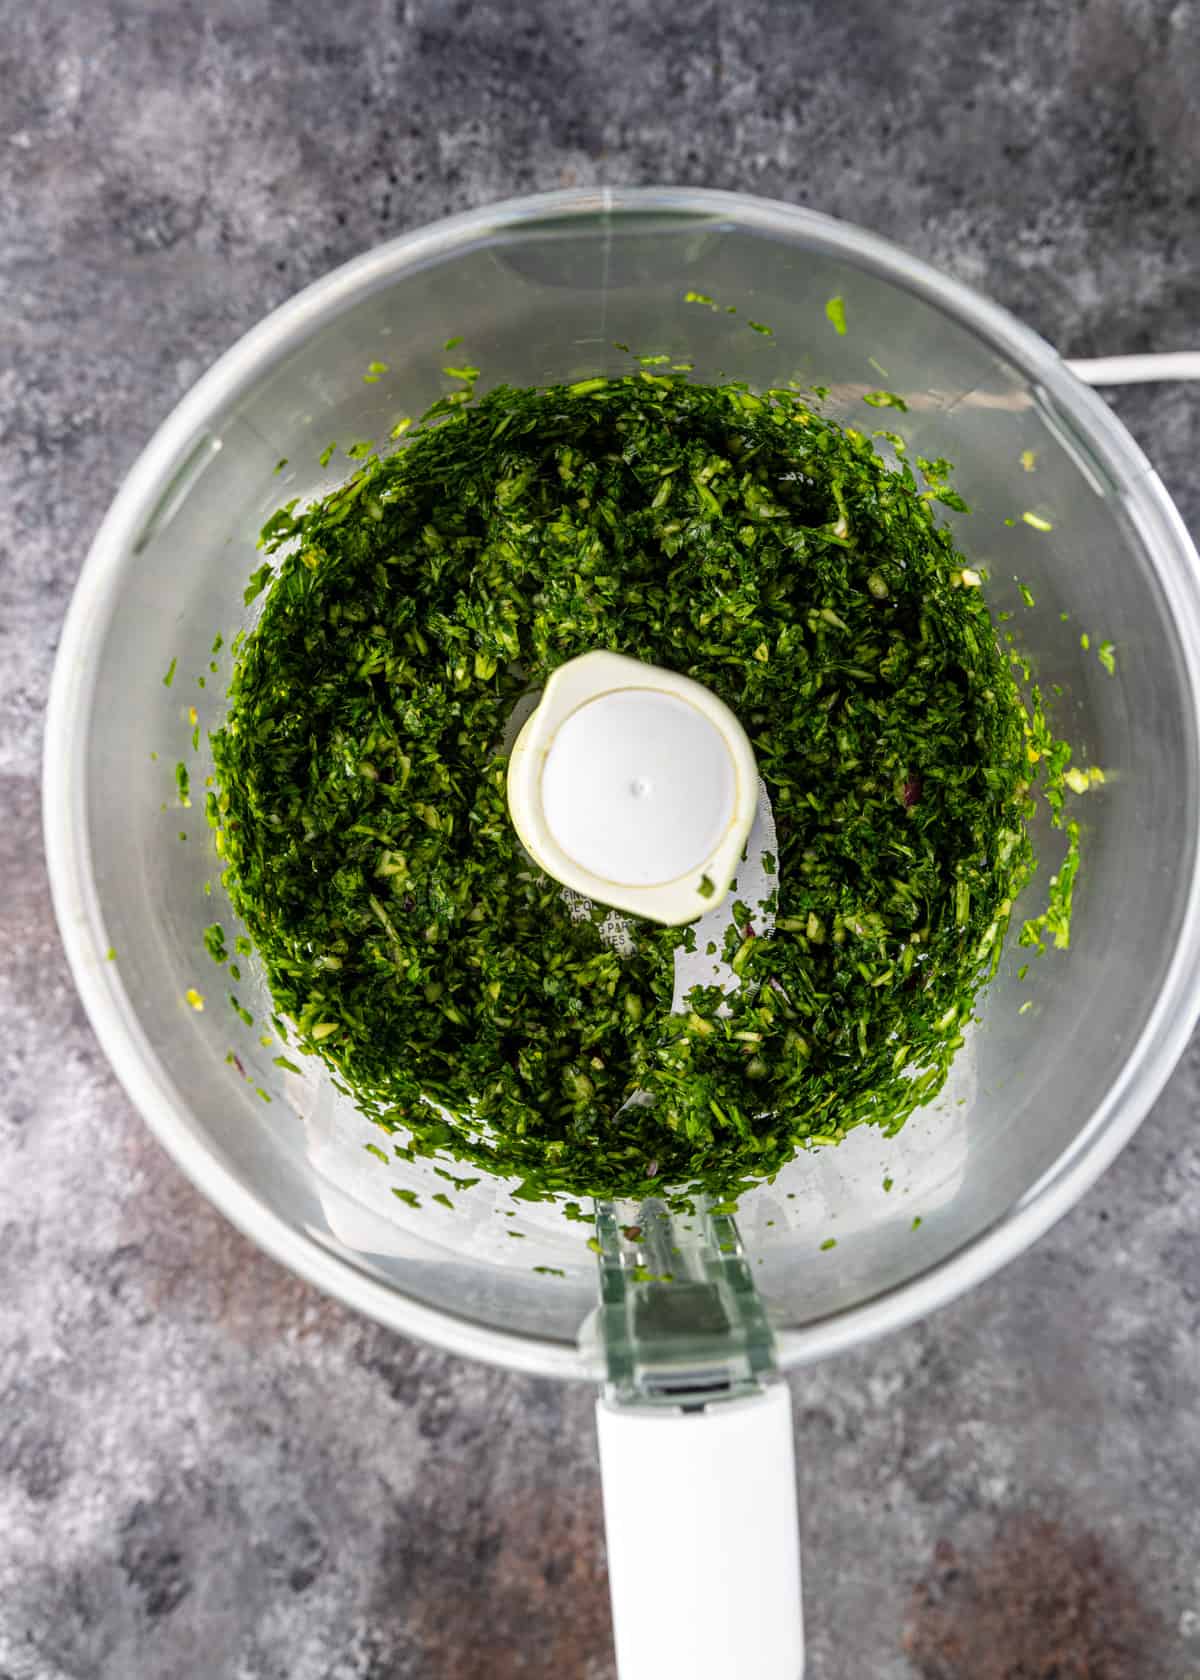


- Falafel Scoop – It’s easiest to get uniform shapes for frying with a measured scoop designed specifically for falafels (see image below). Alternatively, you can use a small ice cream scoop or even a regular spoon.
- Food Processor – To chop and blend the ta’ameya ingredients.

Ingredient Notes and Substitutions
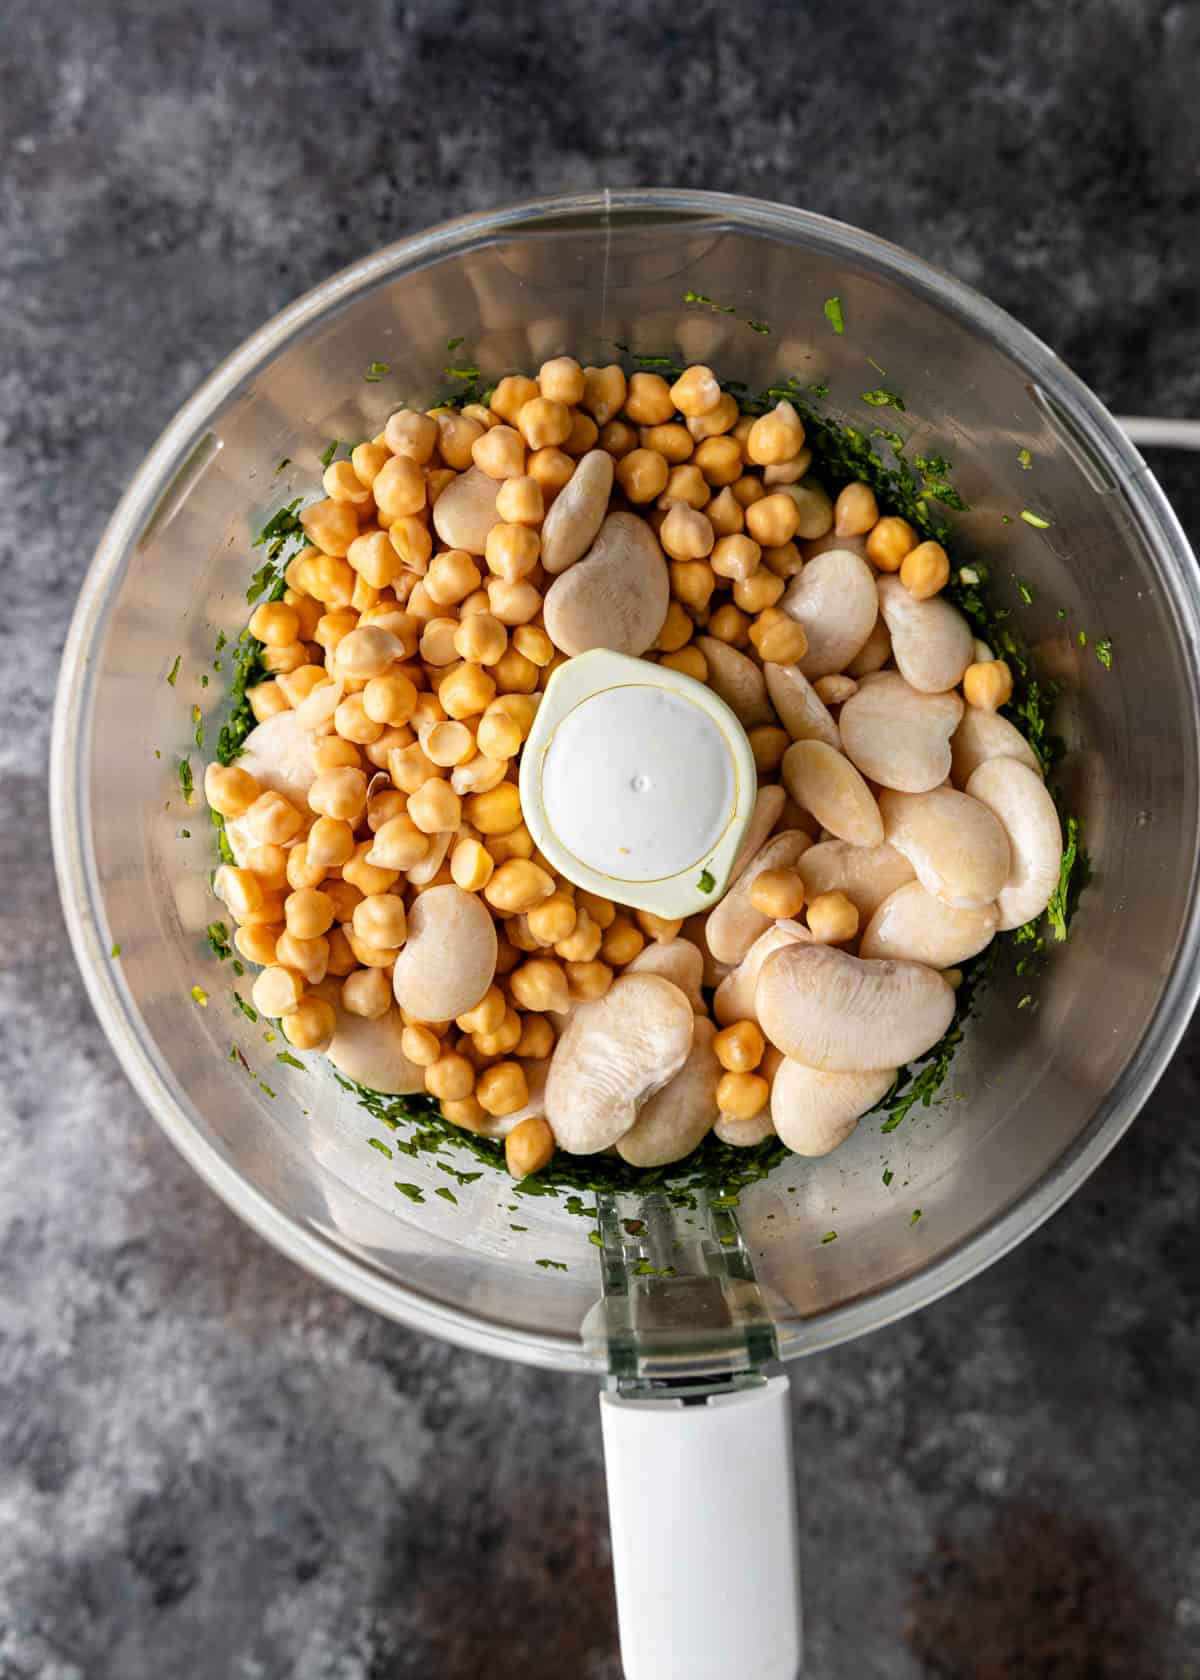
- Dried Chickpeas & Fava (or Lima) Beans – I use a mix of both in my Egyptian falafel recipe, but you are welcome to use all lima beans.
- Red Onion – Good substitutes include green onion, leeks, and yellow onion.
- Ground Cardamom & Cumin – Cardamom can be substituted with coriander.
- Garlic – 4 cloves of garlic can be substituted with one tablespoon of minced.
- Herbs & Greens – The appetizing green color comes from arugula, flat-leaf parsley, and cilantro. Some recipes for Egyptian falafel also include dill.
- Toasted Sesame Seeds – Optional, but great for a bit of texture and nutty flavor.
- Baking Soda – To tenderize the falafels.
- For Serving – You have to have fresh, warm pita and creamy hummus with Egyptian falafel! Serve it with any or all of the following:
- Fresh or Pickled Vegetables – I like to include tabbouleh salad, shirazi salad, slivers of pickled red onion, and shredded lettuce.
- Sauces and Condiments – The most popular option is definitely tahini sauce, but I also like to serve this Egyptian falafel recipe with zhoug, shatta, and toum sauces for some bright, zesty options.
Above is a quick video I took while in Egypt showing the chef using a falafel scooper and frying them up for a taste. Fresh is always best!

How to Make Egyptian Falafel
- Soak the Beans. Soak the dried chickpeas and fava (or lima) beans overnight until doubled in size. Rinse under cold water, drain, and set aside until it’s time to prepare the rest of the falafel recipe.
- Prepare the Onion. Peel and quarter the onion. Set aside one quarter for the ta’ameya, and save the other three quarters for another use.
- Blend the Batter. Add the onion, garlic, parsley, cilantro, and arugula to a food processor and process for 15 seconds. Add the drained beans and pulse several times. Now, add the ground spices and salt and pulse until the mixture is finely chopped but not grainy or mushy.
- Refrigerate Mixture. Chill for one hour. Then, add the sesame seeds and baking soda to the mixture and mix well.
- Form the Falafel. Wet your hands, scoop 1 tablespoon of the mixture into your palm, and roll into a walnut-sized ball. Place on a tray and repeat until all of the mixture is used.
Proceed with either the frying or baking methods detailed below.
Frying Instructions
- Fry. Heat oil in a large skillet or saucepan. Once it reaches 350 degrees F, begin deep frying the balls in batches. Do not overcrowd the skillet. Fry each batch for 4 minutes or so until browned. Make sure they have enough time in the oil to really dry out — if the exterior browns too quickly, make sure the oil isn’t too hot and that it maintains temperature.
- Serve. Allow the fried Egyptian falafel to drain on paper towels briefly before serving.
Baking Instructions
- Bake. Cover a baking sheet with ¼ cup of vegetable oil. As the falafel are being shaped, place them on the baking sheet. Flatten slightly with your palm or into a disc shape. Bake at 350 degrees F for 25 minutes, flipping halfway, until browned and cooked through.
- Serve. Plate warm with desired condiments.
Storing and Reheating
These patties become soft and mushy once refrigerated, so I recommend eating them right away for the best, crispiest texture. But if you do have leftovers, store in an airtight container for up to 3 days.
Reheat in the oven at 350 degrees F or in an air fryer until warmed through.

Frequently Asked Questions
Canned chickpeas are already cooked. As a result, they’ll break apart if you try to fry them. And if by some miracle your ta’ameya does stay together, then the inside will be incredibly mushy.
But don’t be discouraged! Preparing dried chickpeas is much easier than you might think.
Lebanese falafel is made with chickpeas, while a traditional Egyptian falafel recipe is made with fava (or lima) beans and chickpeas.
So you could consider my falafel recipe to be a bit of a hybrid between the two! I like to use both so that you can get the light, crispy texture of lima beans as well as the smooth, creamy texture from the chickpeas.
If your ta’ameya aren’t sticking together while you shape them, they might need more time in the food processor. Process the mixture until it just starts to hold together — don’t overmix it. If that doesn’t work, chill the batter for a while before trying again.
To make sure they don’t fall apart while frying, don’t pack the balls too tightly.
Share this recipe on Pinterest!
Love this recipe? Share it with the world on Pinterest.

Optional Serving Condiments
-
Place chickpeas and lima beans in a large bowl and cover with 4 cups water. Cover and set aside to soak overnight (8 hours). They will double in size. (See Note 1)
-
Rinse beans under cold water and drain. Set aside. Peel and cut red onion in half and one half into halves. You need a 1/4 of the red onion, save remaining for other use.
-
In a food processor add quarter piece red onion, garlic, parsley, cilantro and arugula. Process 15 seconds. Add the drained beans and pulse several times. Add cardamom, cumin and salt then pulse for about a minute until finely chopped, but not too grainy, or too mushy of a texture. It should just start to hold together. Remove mixture from processor to a bowl. Cover and refrigerate for 1 hour.
-
Next, add the sesame seeds and baking soda to the falafel mixture and mix thoroughly.
FRY METHOD
-
Heat oil to 350°F in a large sided skillet (cast iron) or heavy bottom medium saucepan.
-
Wet your hands and scoop a tablespoon of the mixture into the palm of your hands to form a ball about the size of a walnut. You could also use a small ice cream scoop, spoon or falafel scooper if you prefer to keep them uniform in size (they will be flat and rounded).
-
Either place directly in the hot oil or place each falafel on a tray. Deep fry them in batches, don’t over crowd the oil, it will lower the heat. Fry for 4 minutes until browned and cooked through (See Note 2).
-
Drain on paper towels and serve immediately with tahini sauce and or all Optional Condiments in a Pita (see ingredient list above).
BAKED METHOD
-
Add a 1/4 cup vegetable oil a baking sheet, spread to cover and preheat oven to 350°F.
-
Wet your hands and scoop a tablespoon of the mixture into the palm of your hands to form a ball about the size of a walnut. You could also use a small ice cream scoop, spoon or falafel scooper if you prefer to keep them uniform in size (they will be flat and rounded).
-
Place each falafel on a baking tray. I have found it better to flattened the balls slightly when baking or make the disk shape. Bake for 25 minutes, flipping after 12 minutes.
-
Serve immediately with tahini sauce and or all Optional Condiments in a Pita (see ingredient list above).
- Using dried and soaked chickpeas in this recipe is a MUST. You want these soaked over night, but you do not cook them. Soak, drain and into the food processor. If canned chickpeas are used in this the interior will be mushy in texture and often times break apart when frying because they are cooked already.
- It’s important that they really dry out on the inside, so make sure they have plenty of time in the oil. If they brown too quickly lower and keep oil at 350°F.
- Recipe adapted from chef Ahmed Reda whom I met while in Egypt 2023.
Calories: 51kcal | Carbohydrates: 9g | Protein: 3g | Fat: 4g | Saturated Fat: 3g | Sodium: 72mg | Potassium: 115mg | Fiber: 2g | Sugar: 1g | Vitamin A: 52IU | Vitamin C: 1mg | Calcium: 23mg | Iron: 1mg
The information shown is an estimate provided by an online nutrition calculator. It should not be considered a substitute for a professional nutritionist’s advice.
Source link


